
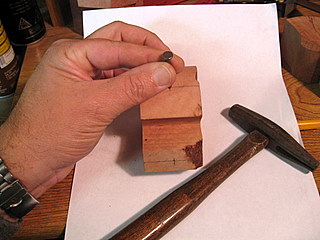
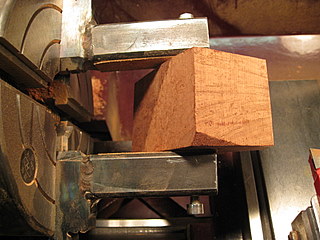
I like to work pipes through in small batches using one of two different methods–the more traditional method, where I drill with the stummel chucked in the lathe before shaping, and the shape first method, where I shape first, and then drill freehand after the initial shaping. Here I will chronicle the first method, where the stummel is chucked into the lathe. This method works especially well when I intend to turn the top portion of the bowl, which is the case with these pipes on the right.
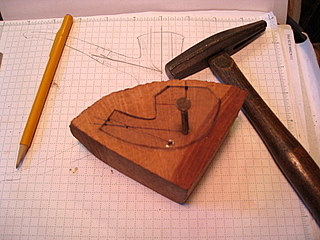
The first step is getting the shapes, drilling lines and intersections laid out on the block.
In the case of these shapes, which are ones I have refined over several iterations, I’m using templates, but I still do considerable adjusting to match the shape and grain of the block to the design. Here we are laying out an Opus 1 PokerBash in the upper left, a more traditional Opus 2 Bulldog in the upper right, and a somewhat more Danish influenced Bulldog on the bottom.
First I sand and partially square the blocks. This allows me to see the grain a little better for laying out the shapes, and squaring the blocks helps to keep the alignment of the holes a little more predictable. I’ve found it’s difficult to get the blocks perfectly square, but that the pin arrangement in my chuck will accommodate slight variations.


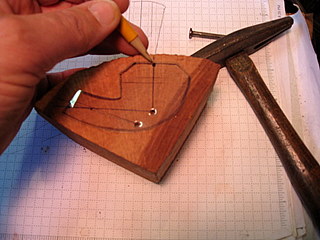
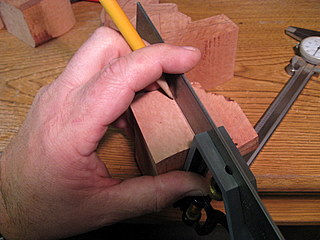
Next I lay out the basic shape, the drilling lines for the mortise and draft holes and the tobacco chamber. I should note that I was taking pictures with the camera in one hand, while trying to show you how this works with the other hand. Obviously it works much better if you use both hands while making pipes!

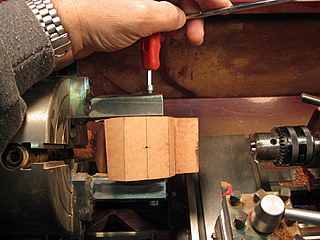
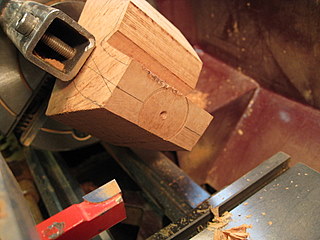
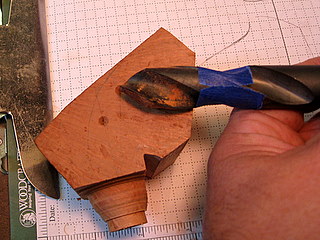
Here you can see how I center punched the intersection point for the draft hole and tobacco chamber. This will then be used to align the block with the pins in the jaws of my custom made chuck. I first learned this system from watching J.T. Cooke make pipes in a wonderful DVD produced a few years back as a fund raiser for his hand surgery:
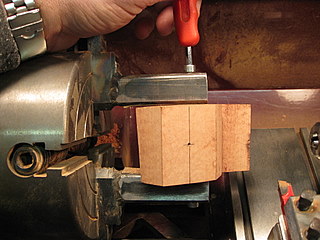
A second locating point is used to set the angle of the mortise. Anywhere along that line will work. Just so long as there is enough block to fit securely in the chuck

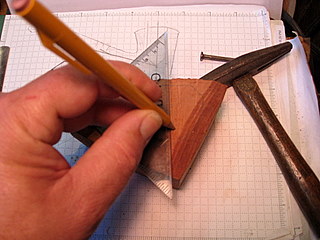
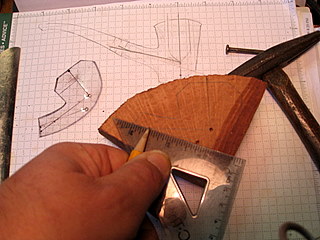
Now we mark the lines as they extend beyond the template for the chamber, draft hole, and mortise:

Next we draw lines in between our locating points using a straight edge.
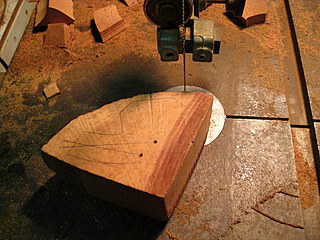
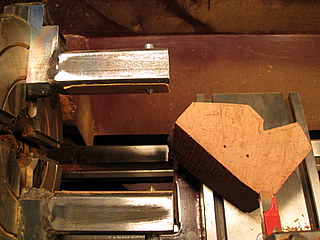
Next I rough cut the shape on the bandsaw, making sure I leave plenty of room to correct things.
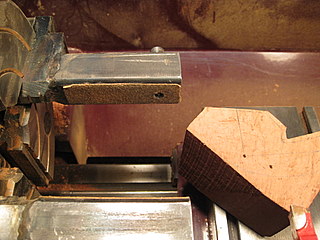
Next I rough sand the top and shank face to get a good flat surface to continue laying out for my drilling:
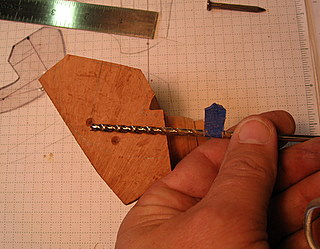
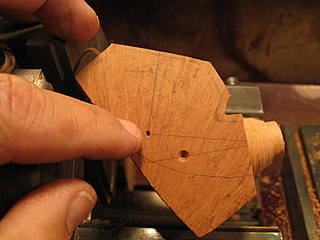
Next I lay out for the location of the chamber, and the mortise by transferring my lines on the side across the top and shank face, while also finding and marking the center of the block, and then center punching for the drill.

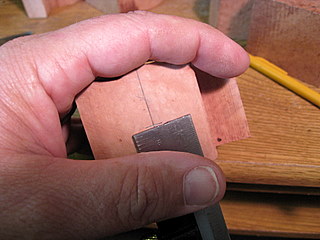
Here we are with our lines transfered:
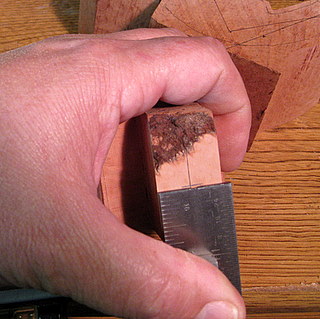
I then center punch the lines in order for the drill to find the point without wandering off.
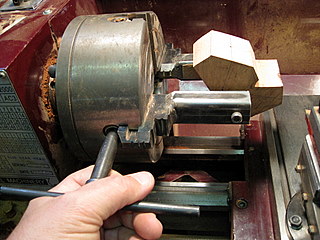
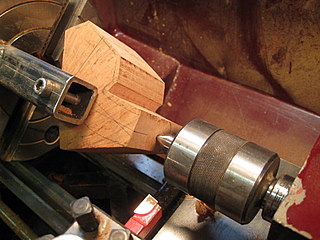
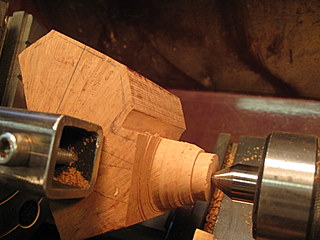
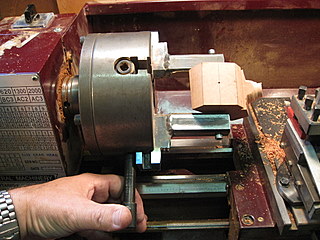
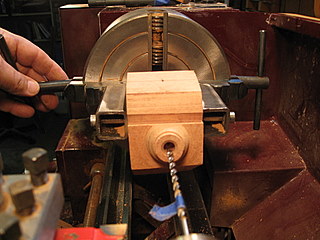
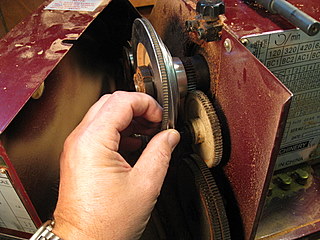
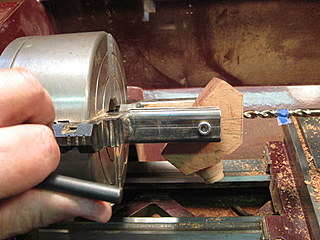
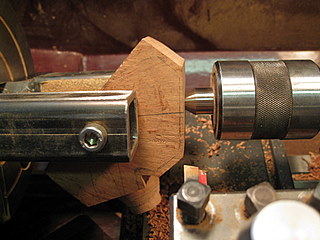
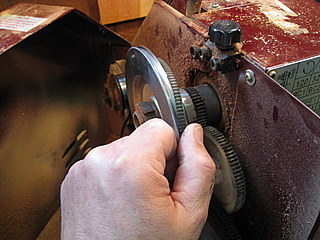
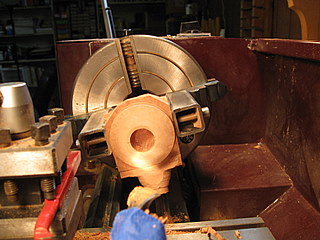
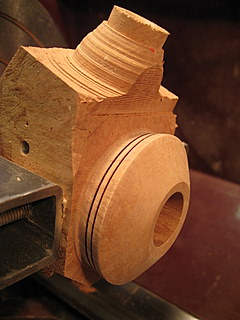
Now I’m ready to chuck the stummel into position for turning the shank, and drilling and countersinking the mortise. Here you can see the stummel with the center punched holes, and the locating pins in my homebrew stummel chuck
Here I have unscrewed the pin on one side of the chuck and will located the other pin into the center punched hole for the mortise angle alignment.
Pressing the first locating pin into the center punched hole using the chuck jaws.
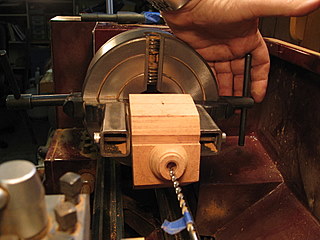
Spinning the chuck to view the stummel from all angles, making sure it is held squarely in the chuck:
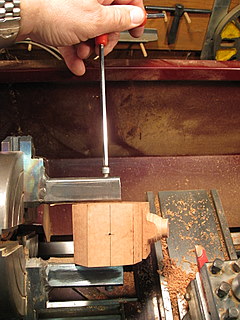
Here I’m driving the second locating pin into the stummel:
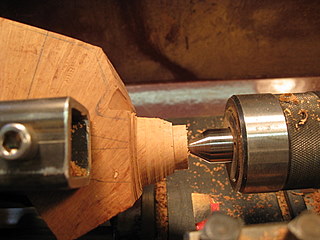
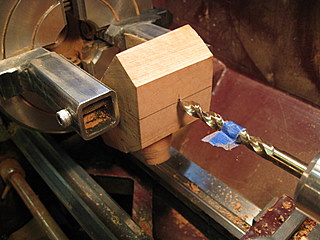
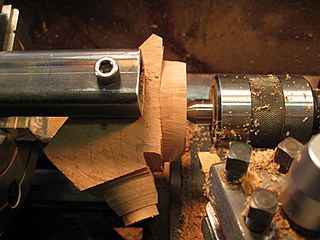
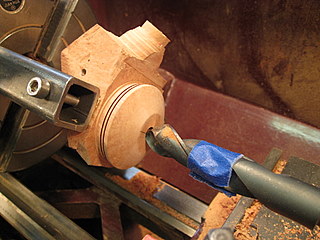
Next I replace the live center I was using for locating the center point with a Forstner bit I use for facing the shank. This is a nice stiff bit, otherwise I would likely use a stubby center drill to get the hole started.
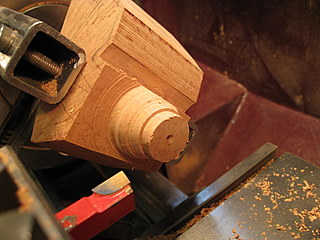
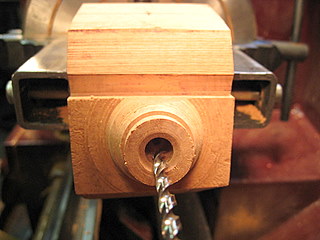
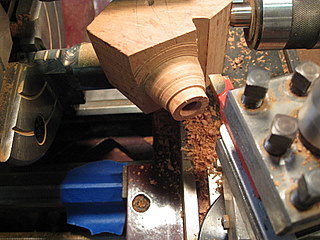
And here is the faced shank.
I replace the Jacobs chuck with the live center again to add stability for turning the shank.
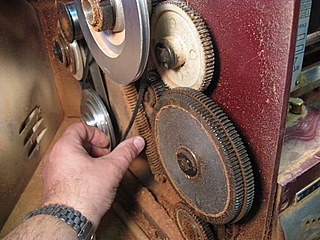
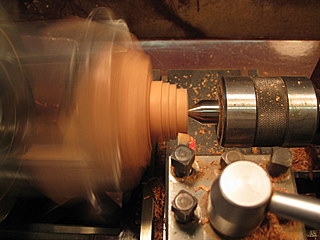
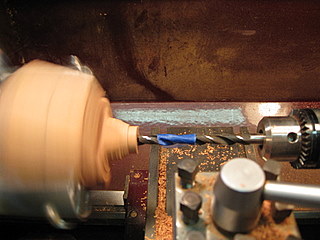
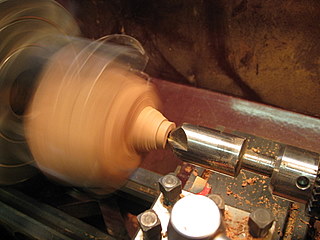
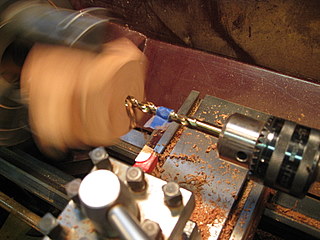
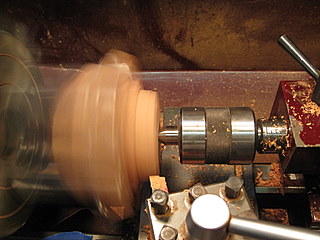
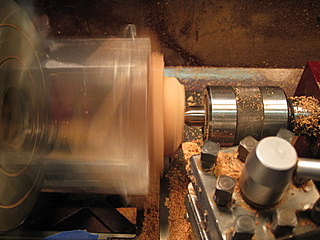
Now I increase the speed for turning. I am generally turning at about 1500 to 2000 RPMs, and drilling between about 250 and 500 RPMS.
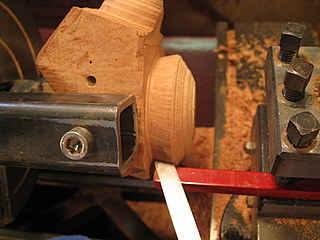
Here I’m spinning the stummel around by hand and adjusting the carriage for where the tool will start to cut. It’s also good to mark with masking tape on the lathe bed how far toward the bowl you can go with the tool before you will hit the stummel or chuck with something. Anything that helps to avoid any surprises is a good idea at this point!
Here I’m starting to turning down the shank. For this Bulldog shape, there is really very little I can turn, but I’ll get a good bit of the waist material out of the way at least. Other shapes, like a Lovat, Billiard, or Belge, I can turn a good portion of the shank on the lathe:
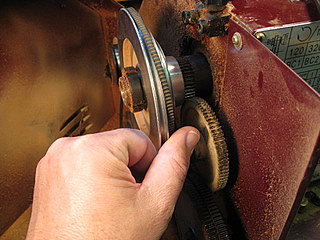
The carriage wheels can be handled like an old fashioned Etch a Sketch to do very controlled and yet creative shapes while turning on a metal lathe.

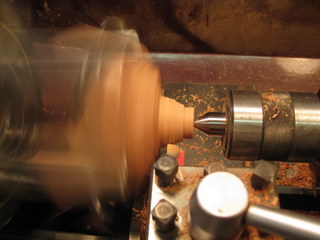
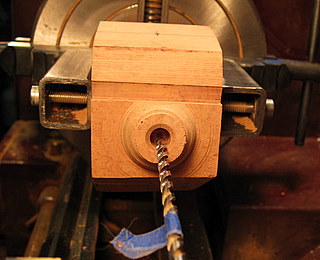
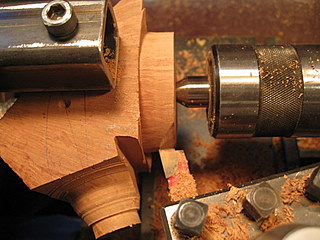
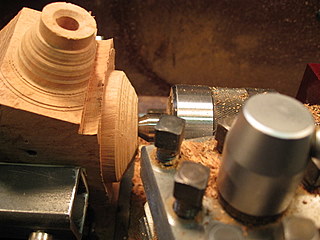
Finished turning and facing the shank:
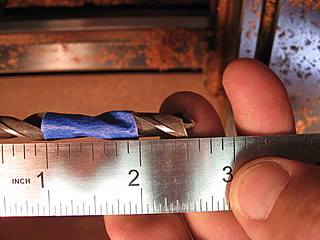
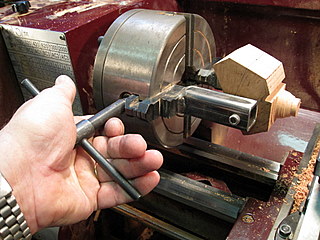
Next we mark the depth for the mortise on the drill with masking tape:
Slowing down the speed for drilling:
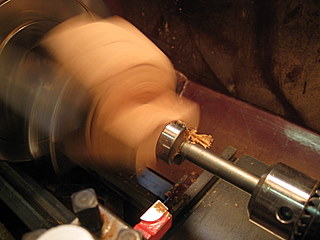
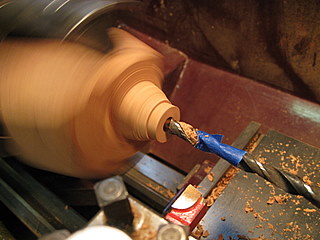
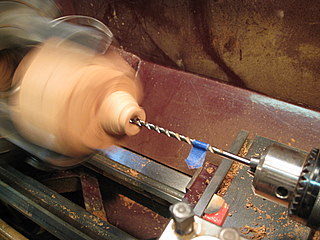
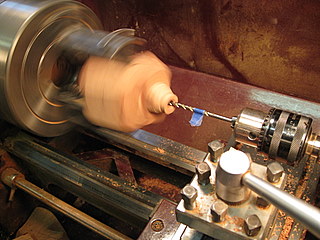
Drilling the mortise:
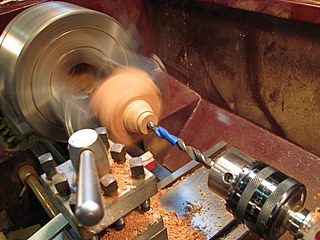
I drill the mortise in one even pass in and out, with as even a feed rate as I can achieve. This keeps the hole as uniform a diameter as possible:
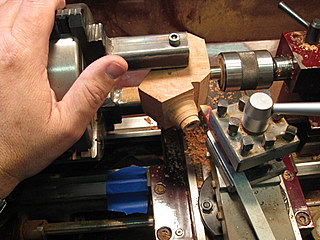
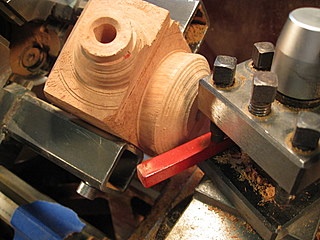
After drilling I countersink the hole. Here is the countersink I use:
Increasing speed slightly for countersinking seems to yield a smoother cut:
Countersinking:
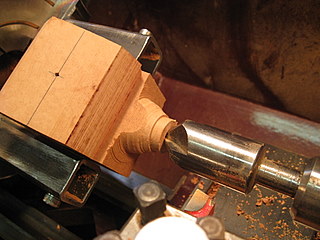
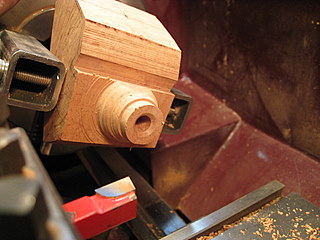
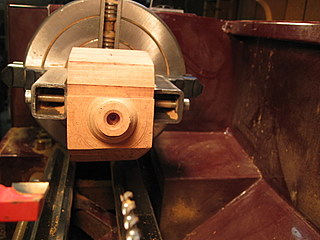
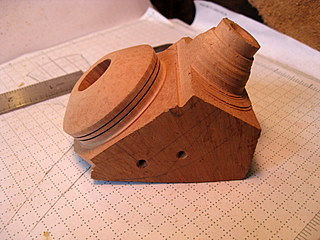
End result:
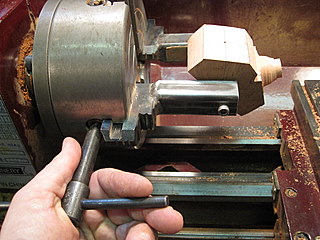
Resetting the stummel in the chuck for turning the bowl, and to drill the draft hole and tobacco chamber. First I remove the stummel
Then set the depth on the drill for the draft hole and tobacco chamber with masking tape:
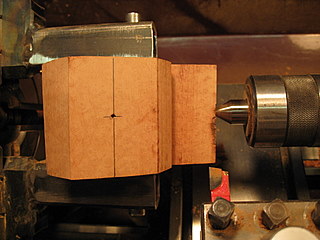
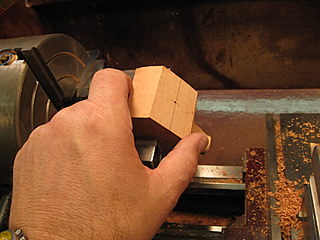
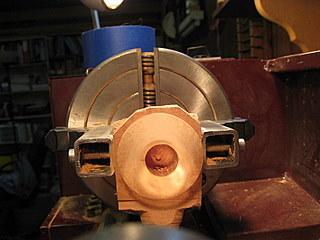
Then chuck the stummel for drilling the draft and chamber. Here is the intersection point we made:
Like we did before for the mortise location, we are now chucking the stummel in it’s location for the draft, tobacco chamber, and turning the top of the bowl. I first screw out the far locating pin:

Forcing the pin into the location point using the jaw:
After checking I have the stummel square in the chuck I screw in the other locating pin:
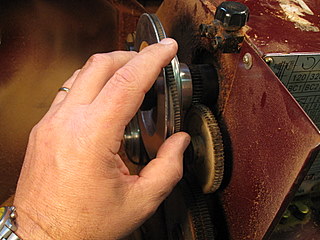
Next I align for the draft hole in the bottom of the mortise. Again, I use two chuck keys, loosening one and tightening the other to get the correct location in the horizontal plane:
Slowing down the speed for drilling
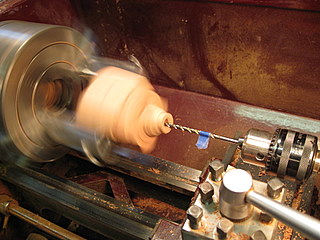
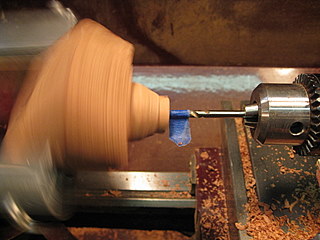
Then I start drilling draft hole
After just touching the drill to the wood I check for alignment in the bottom of the mortise and adjust as needed:
Then continue drilling
Remove the bit often to clear chips
Once the draft hole is drilled I loosen one side of the chuck in order to pivot the block for drilling the chamber, and turning the top of the bowl. By loosening just one side we can be sure to have our alignment exact between chamber and draft when we re-tighten it in the chamber position:
Aligning for the chamber pilot hole
Drilling the chamber pilot hole
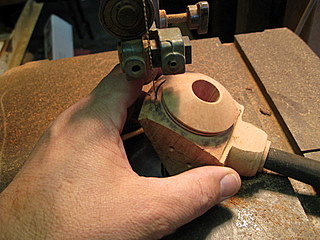
Positioning the live center to give added support while turning:
Spinning the stummel to determine where the tool will start to cut, and marking where our limit of travel needs to be in order to avoid hitting the shank with the tool carriage:
Here you can see the blue masking tape I use to show where I need to stop to avoid hitting the tool against the shank:
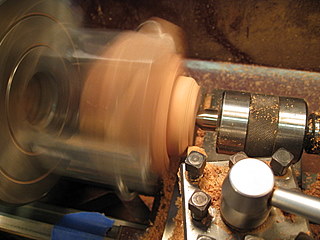
Increasing the speed for turning
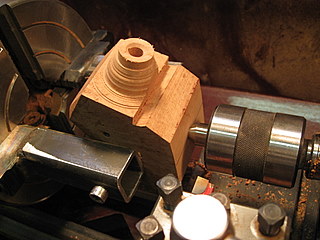
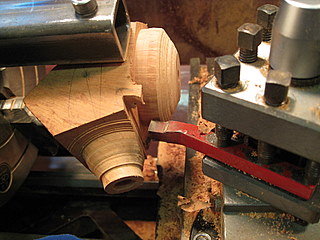
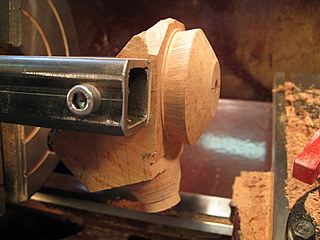
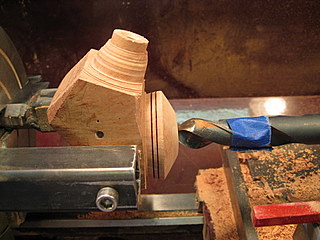
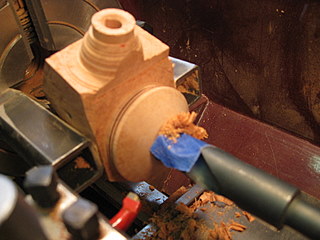
Turning the top of the bowl
Figuring where to start my angle for the top:
Using the Etch a Sketch technique again to shape the top of the bowl:

Switching to a left angle tool in order to cut further down the bowl without hitting the shank:
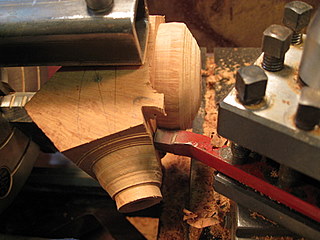
Using the back end of a cutting tool as a tool rest for my wood turning skew chisel, which is then used freehand:
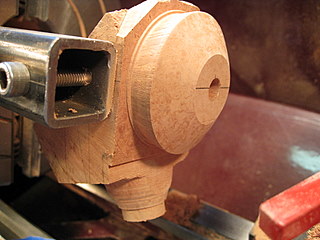
Positioned for cleaning up the top of the bowl with the skew chisel

End result of freehand work with the skew chisel:
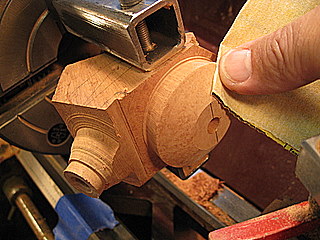
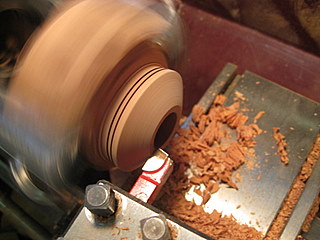
Rough sanding. I hesitate to show you this. The grit from sand paper will ruin the ways on a good metal lathe. Most machinists would kill me for this. Don’t use sand paper near a nice lathe. This is an inexpensive import that I only intend to use for pipe making:
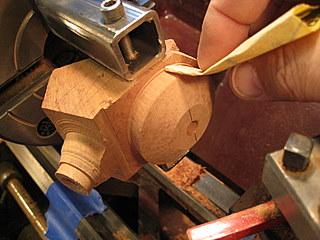
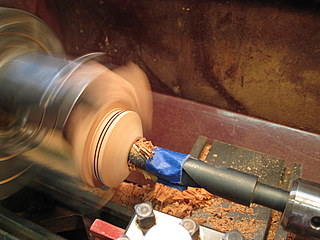
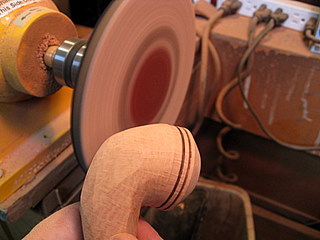
Cutting rings with the skew chisel using the back end of a tool chucked into the tool carriage as a rest:
Drilling the tobacco chamber. First, we need to slow down the speed for drilling.
Remove the drill and clear chips often:
Check for depth of the chamber in relation to the draft hole using a flash light. No sign of it yet:
Nearly there, we can see the draft hole now and just need a little more chamber depth to get to the bottom of it:

Just a little more drilling:

OK, from this point we can clean it up by hand:
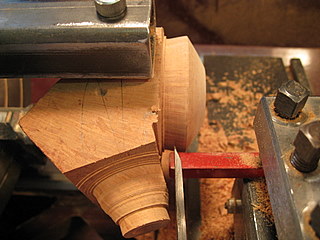
After first increasing the speed for turning again we can cut the top in relation to the chamber:
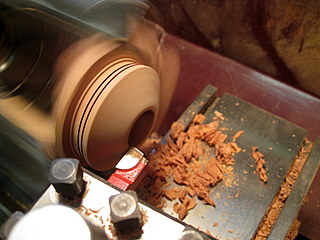
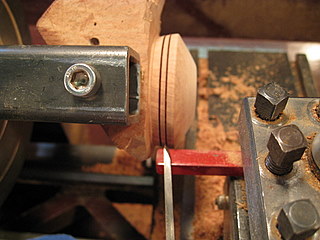
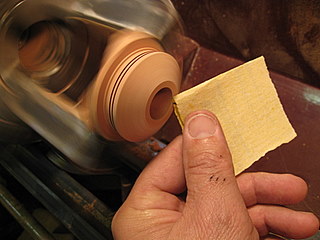
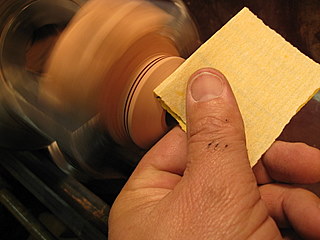
And then clean it up with sandpaper one last time. Again, don’t do this if you have a lathe you love!
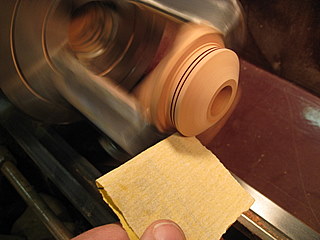
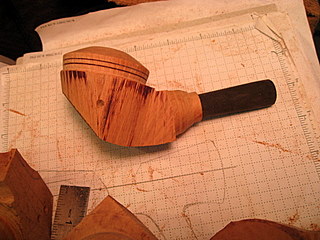
And here we are finished with the lathe
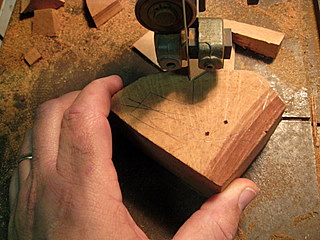
I like to trim the bulk of the waste using the bandsaw. I have inserted a dummy stem at this point for something to hang on to as well as to protect the face of the shank:
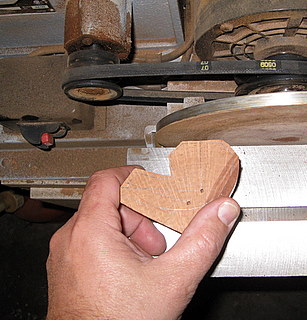
I continue with a coarse disk sander–the same as used to square blocks. This is just to quickly remove waste more than any actual shaping at this point.
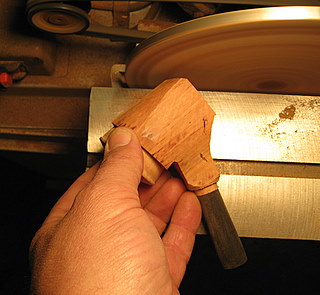
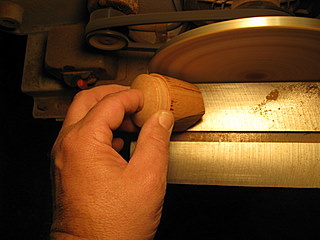

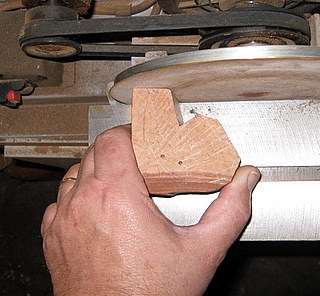
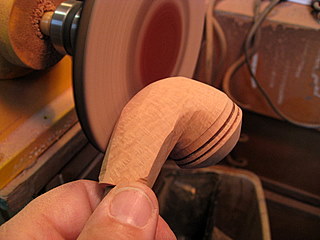
Here we have moved over to the main shaping wheel and are starting to refine the shape. At this point I’m still using a dummy stem, so I stay well away the face of the shank at this point:
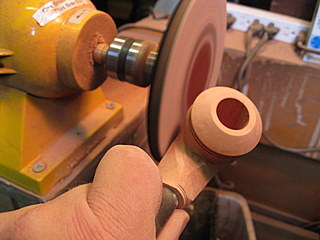
Now we are ready to hand cut and fit the stem to the stummel. I do this before starting to seriously refine the shape. I find the more the stem and stummel can be shaped together, the better the end results.